How to Take Better Black and White Photos: 7 Simple Tips

There is something wonderfully timeless about a good black and white photograph.
Take away the colour and suddenly you notice things you might have completely overlooked before: the way light falls across a face, the texture of an old wall, long shadows, repeating patterns or the shape of a person against a bright sky.
Black and white photography can be incredibly powerful because it removes the distraction of colour and makes us look at the other elements of an image.
But here's the thing: Not every photograph looks better in black and white.
Some images rely on colour to make them work. Others suddenly come to life when you remove it.
So how do you know which images will work?
The good news is that you don't need complicated equipment or fancy editing skills. You simply need to start training your eye to look for light, contrast, texture, shape and composition.
Here are seven things to look for when you're out taking photographs.
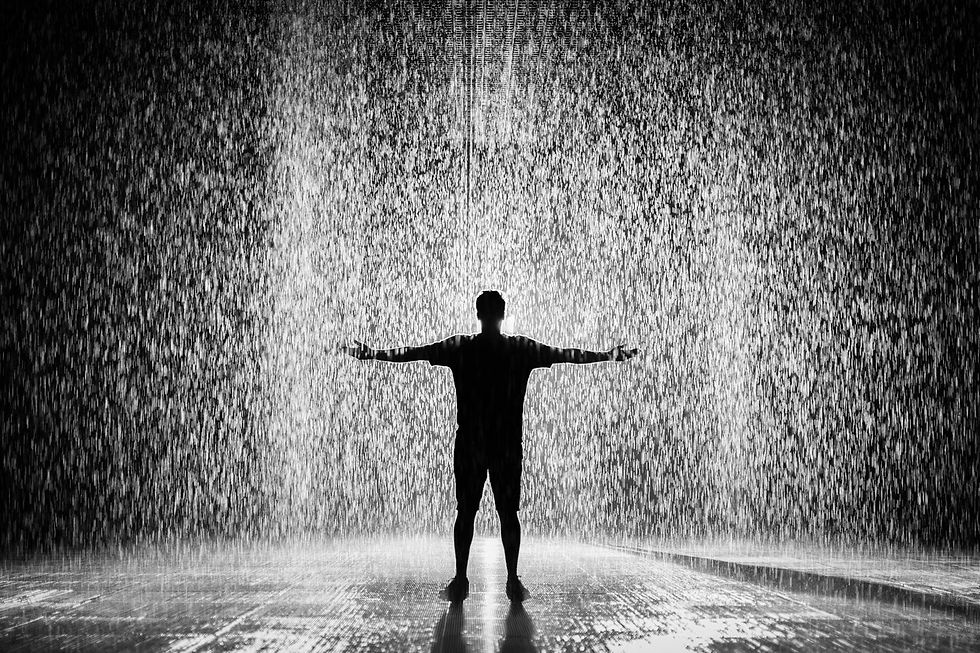
1. Start looking at the world in black and white
One of the best things you can do to improve your black and white photography is to start imagining what a scene would look like without colour. This takes a little practice.
Instead of looking at a red door, for example, start looking at its tone, shape and texture.
Instead of seeing a bright blue sky, look at the contrast between the sky and the subject in front of it.
Instead of thinking about the colour of someone's clothes, notice the way the light is falling across them.
You're essentially training your brain to see a photograph before you take it.
And this is a really useful photography skill whether you're shooting in black and white or colour.
Modern cameras often let you set the display or picture style to black and white, which means you can actually see the scene in monochrome through your viewfinder or on the screen before you take the photograph.
This can be really useful when you're learning to see in black and white. It removes the distraction of colour and helps you spot the things we've talked about – contrast, shadows, texture, shapes and lines.
However, I'd recommend using this as a visual guide rather than actually shooting your final image in black and white.
Instead, keep your original image in colour and convert it to black and white in post-production (I'll come to that later).
Why?
Because once you've taken a photograph as a black and white JPEG, you can't turn it back into the original colour photograph.
If you shoot in colour, you have both options. You can keep the colour version, or convert a copy to black and white later.
So if your camera has a black and white or monochrome preview setting, give it a try. Use it to train your eye, but keep your original colour file. That way you get the best of both worlds.
2. Look for contrast in your black and white photos
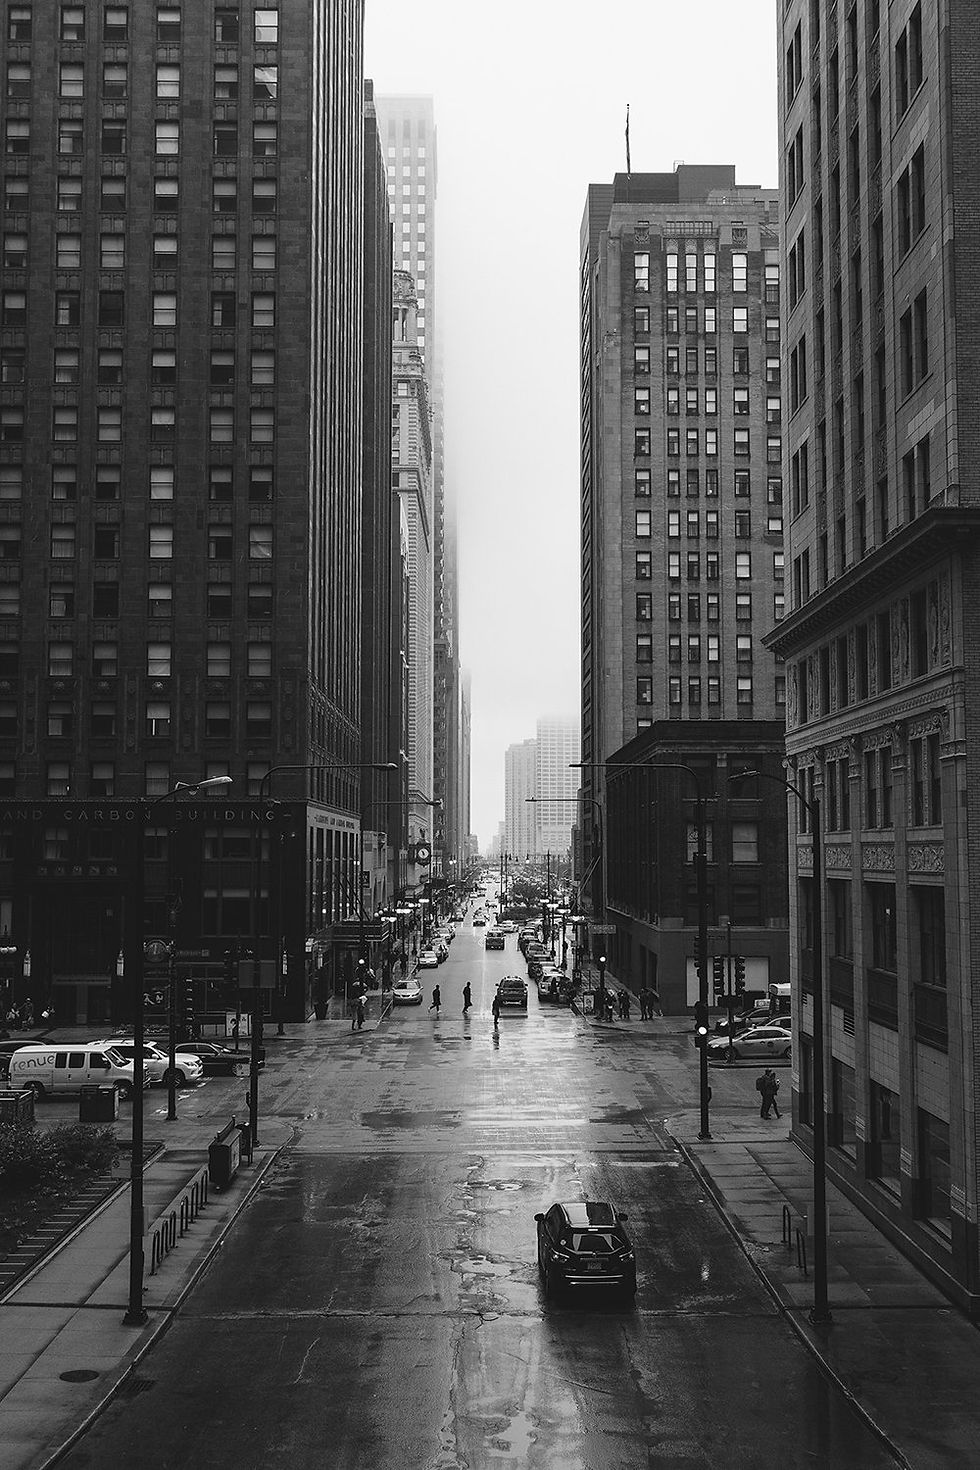
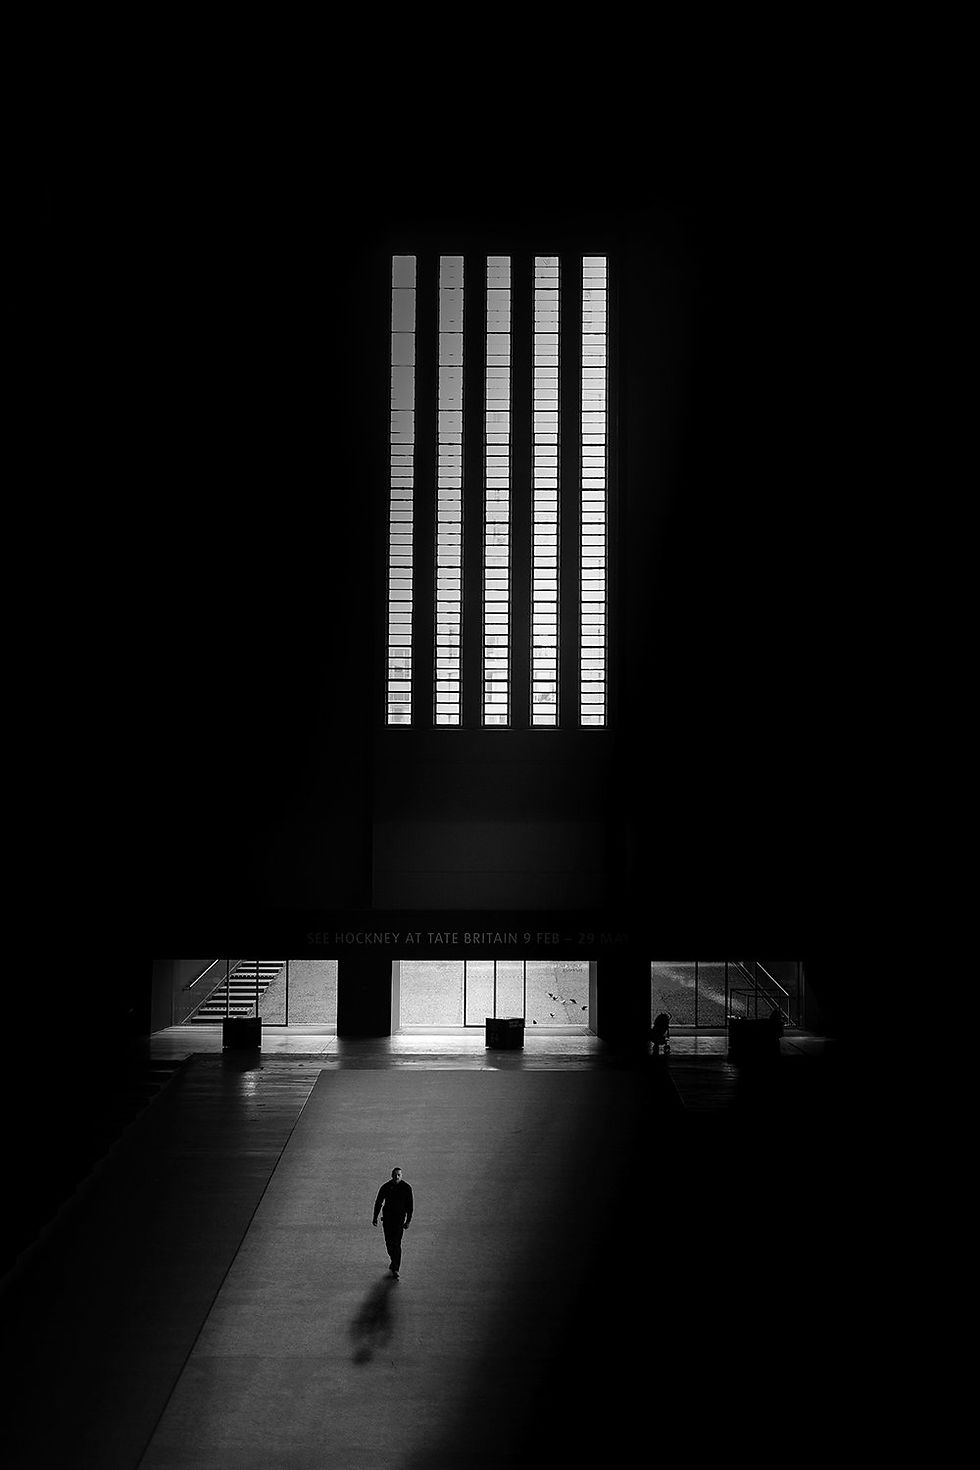
Contrast is one of the most important elements of successful black and white photography.
Put simply, contrast is the difference between light and dark.
When you remove colour from a photograph, you're left with different shades of light and dark. The greater the difference between them, the more contrast you have. Strong contrast can add drama, depth and impact to a black and white photograph.
So when you're looking at a scene, look for things like:
Bright areas next to dark areas
Strong sunlight and deep shadows
A dark subject against a lighter background
A light subject against a darker background
Interesting differences between the highlights and shadows
This is particularly useful when you're photographing in strong light.
While harsh midday sunlight isn't always flattering for portraits, it can work really well for black and white photography. The strong light and shadows can create contrast and add drama to a scene that might otherwise look quite ordinary.
When you're out with your camera, start looking for differences between light and dark. You'll soon begin to see potential black and white photographs in places you might normally overlook.
3. Look for shadows
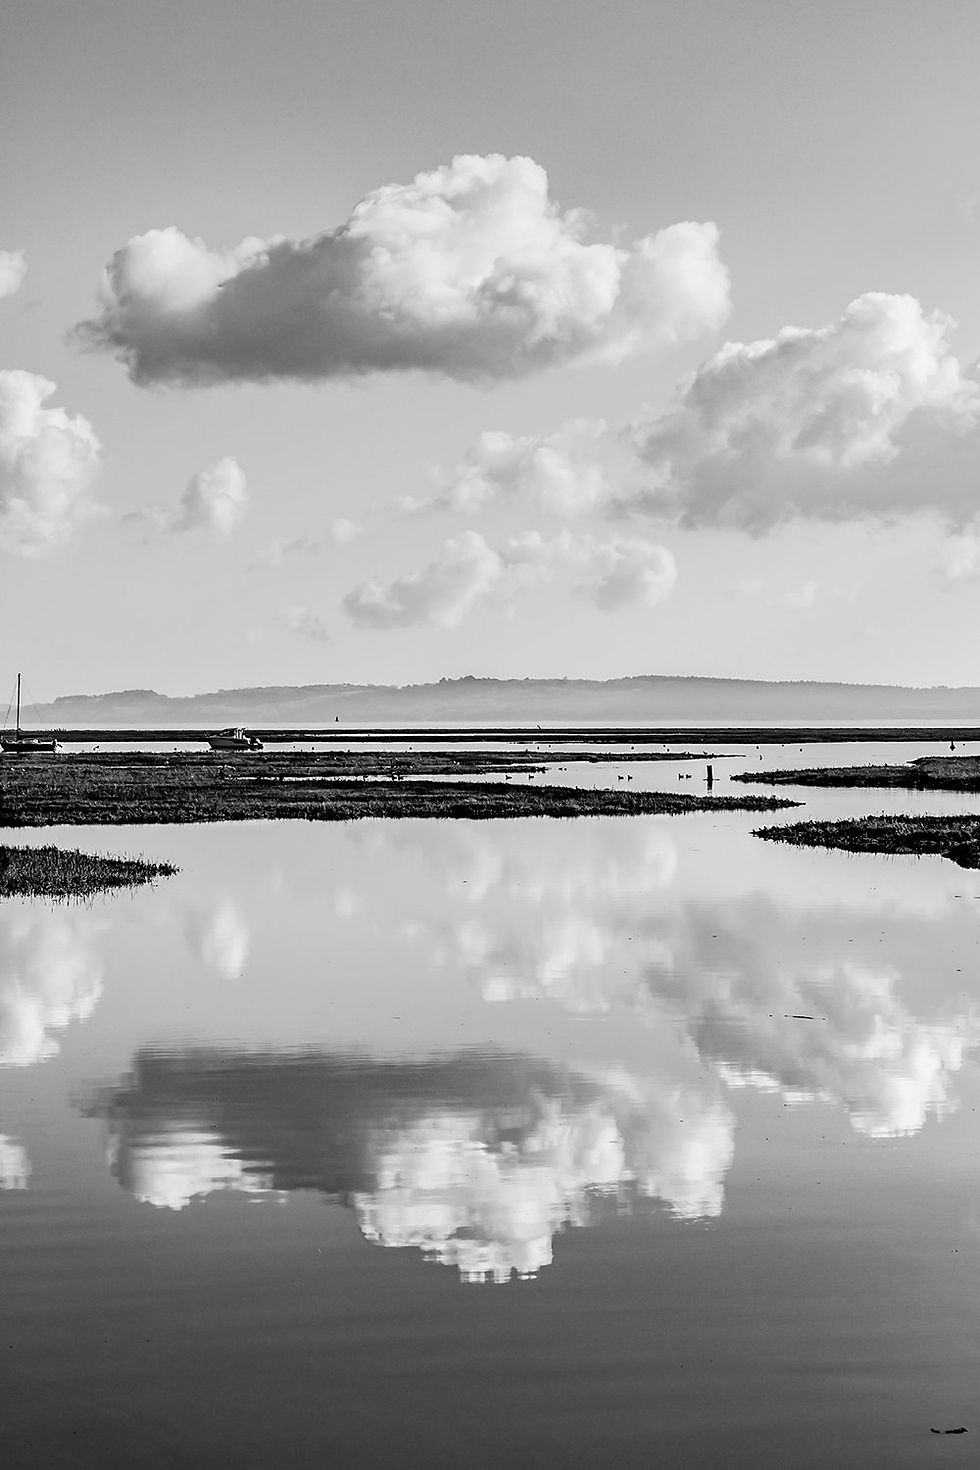
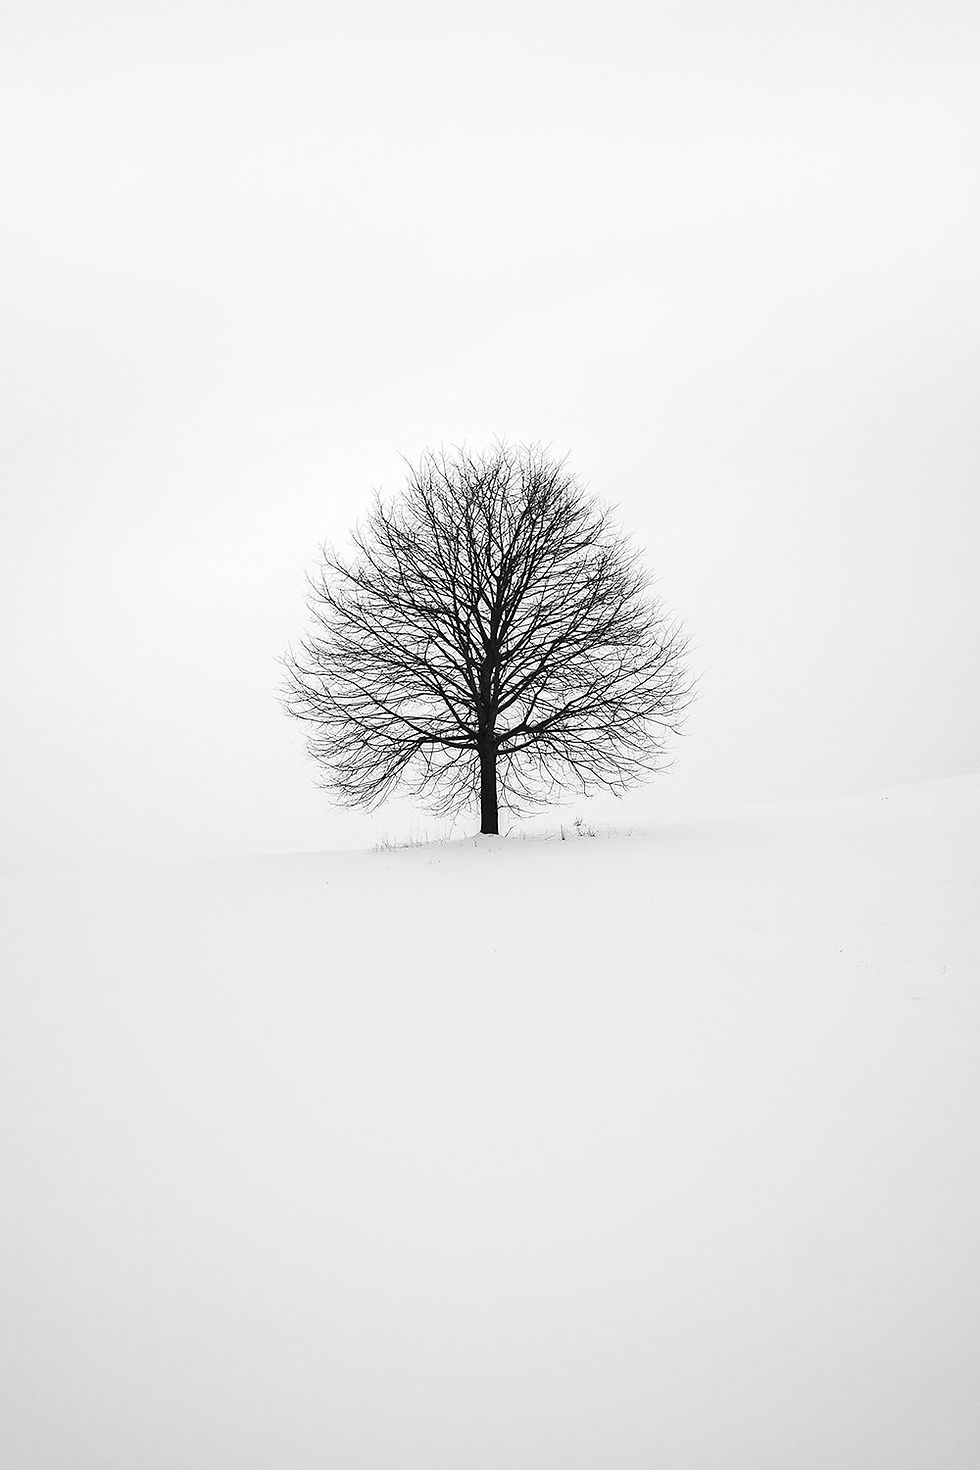
Shadows can become a really important part of a black and white photograph.
When the sun is low in the sky, shadows become longer and more obvious. This can create wonderful shapes and patterns across the ground, walls and buildings around you.
Try photographing early in the morning or later in the afternoon when the sun is lower.
Look down as well as ahead of you.
You might find that the shadow being created by a person, tree, railing or building is actually more interesting than the thing creating it.
And don't be afraid to photograph the shadow itself.
You don't always need to show the whole subject for the viewer to understand what's happening.

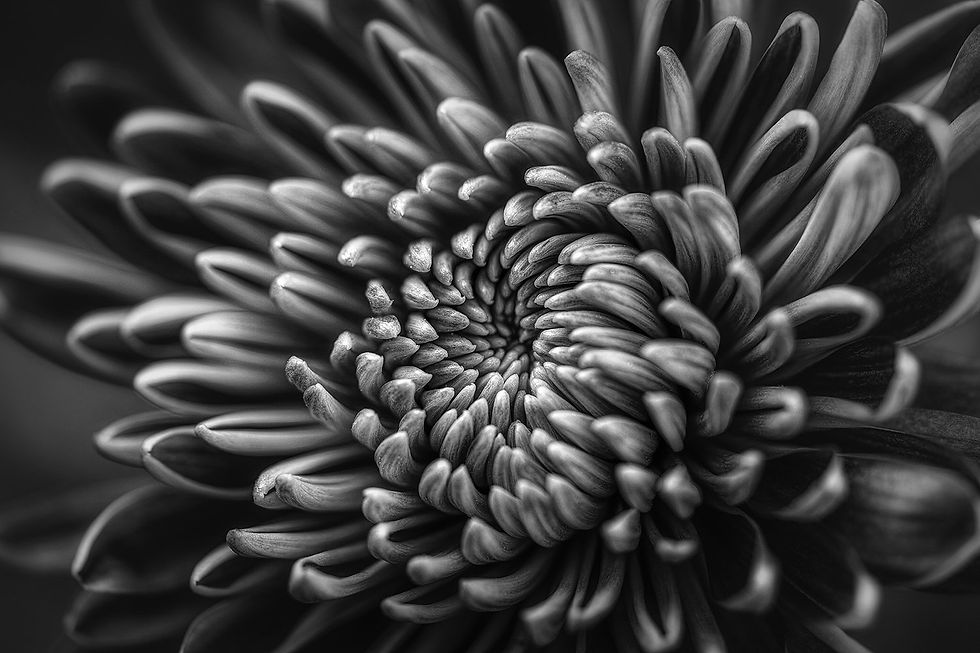
4. Look for texture
Colour can sometimes distract us from texture.
Remove the colour and suddenly the texture of an old wall, tree bark, fabric or weathered building becomes much more noticeable. Start looking for surfaces with interesting textures.
Try:
Old buildings and walls
Tree bark
Leaves and foliage
Fabric
Wood
Stone
Rust
Peeling paint
Get close.
You don't necessarily need to photograph the entire object. Fill the frame with the texture and see what happens.
Black and white can turn something incredibly ordinary into something much more interesting.
5. Look for lines and patterns
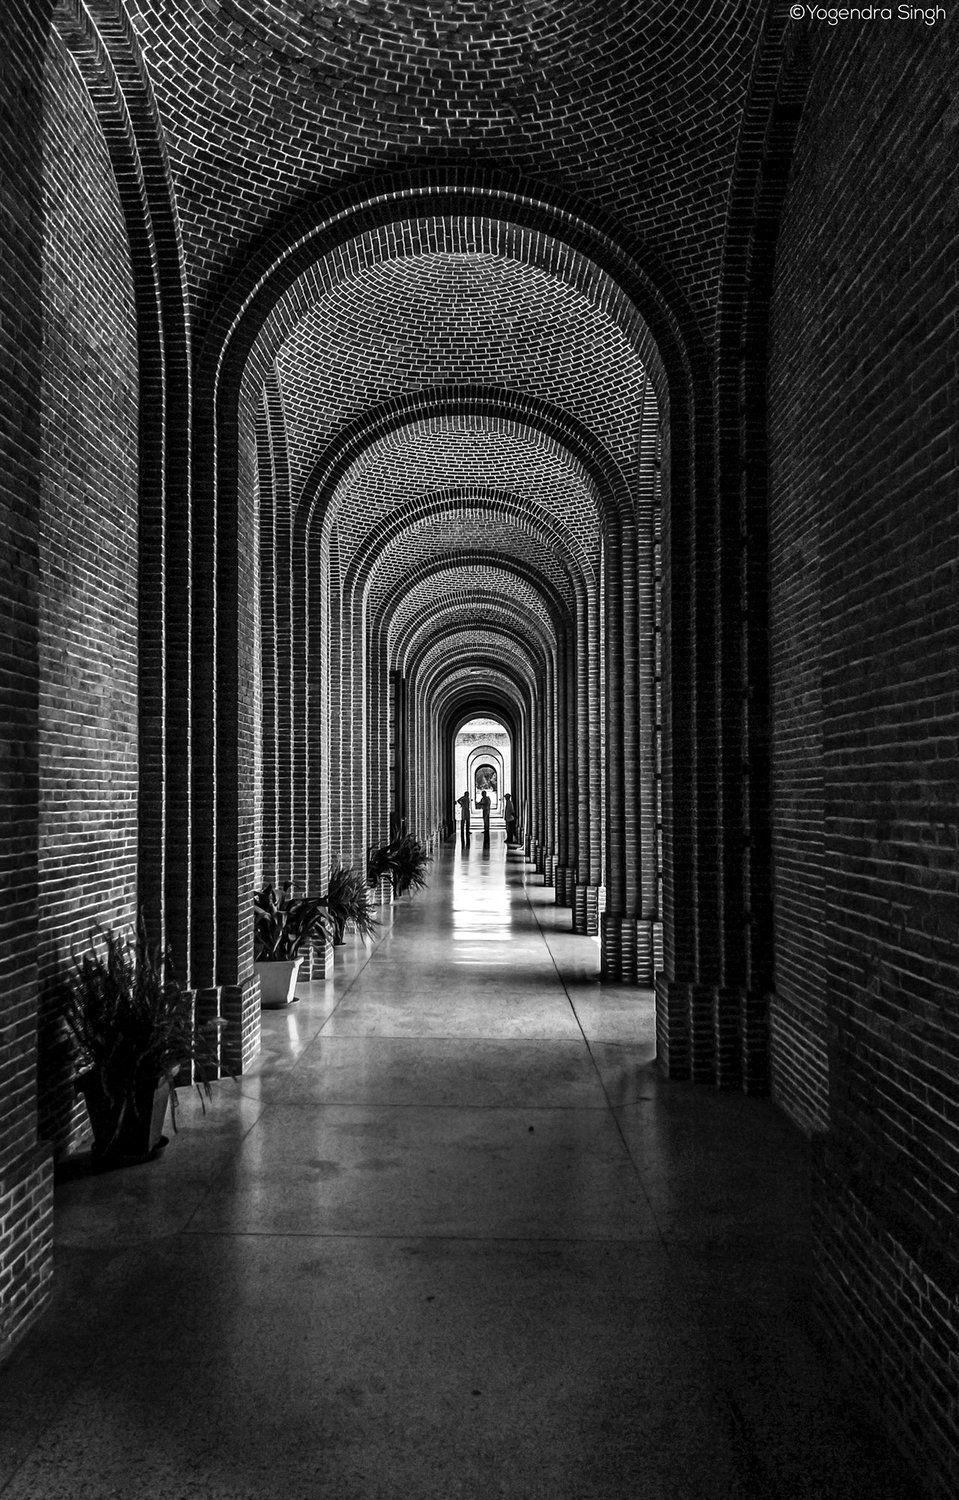
Lines are another fantastic element to look for when you're taking black and white photographs.
Think about staircases, railings, roads, paths, bridges, buildings and rows of windows.
Lines can lead the viewer through an image and give the photograph a sense of direction.
Repeating patterns can work particularly well too.
Look for repetition in architecture, windows, fences, tiles or even everyday objects.
Once you start looking for them, you'll probably find lines and patterns everywhere.
And this is where composition becomes important.
Think about where those lines enter the frame and where they lead the viewer's eye.
6. Don't forget about people
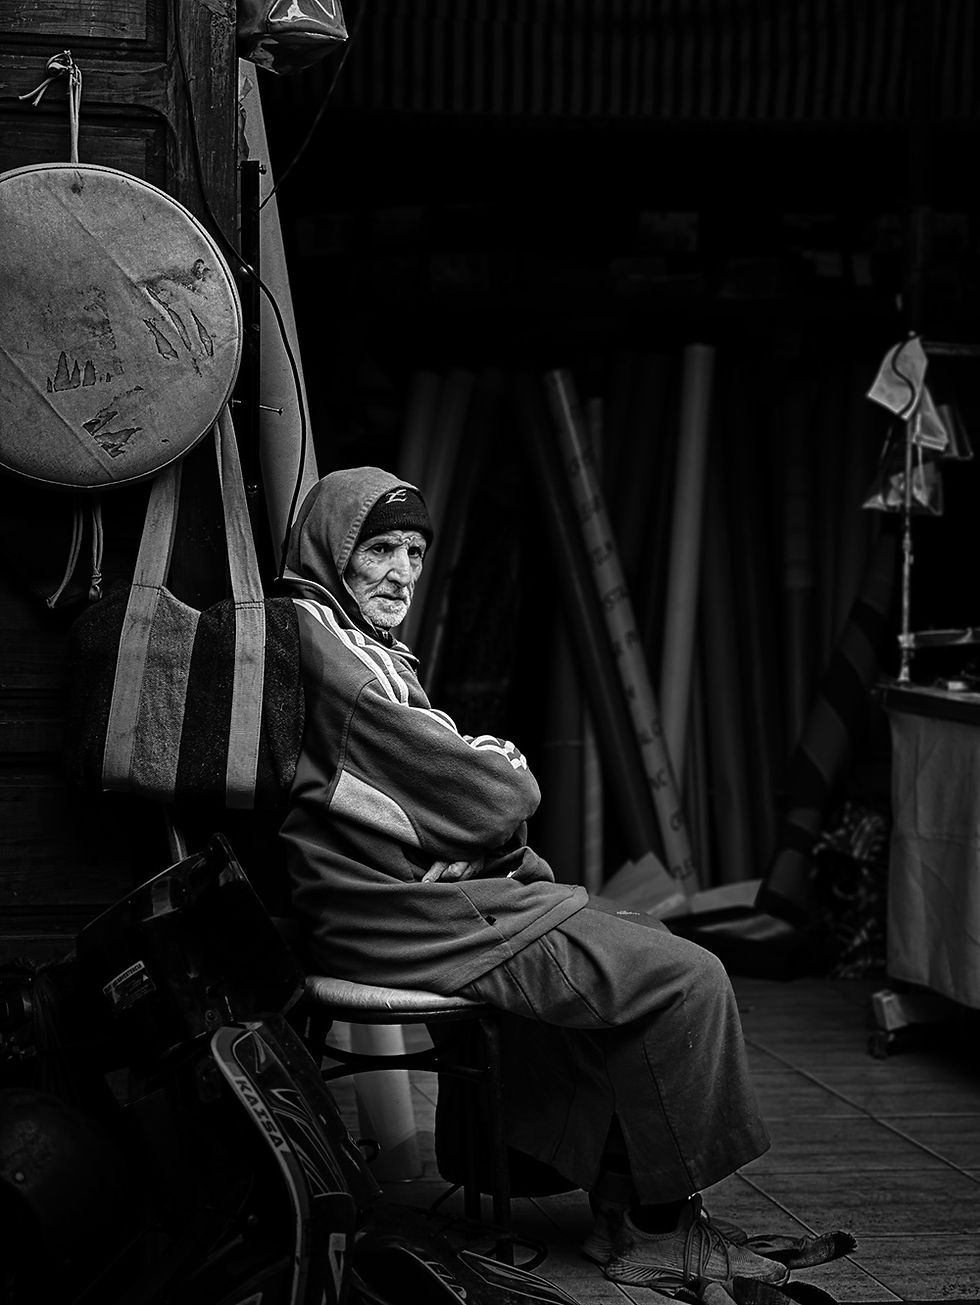
Black and white photography can be particularly effective for portraits, documentary photography and everyday, candid photographs.
Without colour competing for your attention, the viewer can concentrate more on the person, their expression and the story happening around them.
You don't need to set up a complicated portrait.
Some of the most interesting photographs can come from simply paying attention to what's happening around you.
Look for moments that tell a story.
Someone waiting for a bus.
A child concentrating on something.
Someone walking through a shaft of sunlight.
A couple having a conversation.
Someone working with their hands.
These everyday moments can make wonderful black and white photographs.
7. How to edit black and white photographs
Converting a colour photograph to black and white is usually just the first step. Once you've removed the colour, you can make some simple adjustments to bring out the contrast, texture and detail in your image.
Start by looking at the difference between the light and dark areas. You might find that increasing the contrast slightly gives the image more impact, or that brightening the highlights and darkening the shadows helps to emphasise the shapes and textures you noticed when you took the photograph.
But there's another useful tool to experiment with when converting a colour photograph to black and white: colour filters.
Even though you can't see the colours in the finished photograph, the colours that were in the original image still affect how light or dark different areas appear.
For example, a red filter can make blue skies appear much darker and more dramatic, while a yellow or orange filter can create a more subtle version of the same effect. A green filter can make foliage stand out by making greens appear lighter.
You don't need to understand exactly how all of this works to experiment with it. Many photo editing apps and programmes have a black and white or monochrome adjustment that allows you to change how different colours are converted into shades of grey.
Try moving the sliders and watch what happens to your image.
You may find that a small adjustment makes a huge difference to the photograph.
And remember, you don't need to make your black and white photographs really dramatic just because you can. The aim is to enhance the photograph, not overpower it.
A simple black and white photography challenge
Fancy giving this a go?
The next time you're out with your camera or phone, forget about trying to create a masterpiece.
Instead, look for these five things:
1. Contrast - Look for light next to dark.
2. Shadows - Look for interesting shapes created by light.
3. Texture - Get close to interesting surfaces.
4. Lines and patterns - Look for things that lead the eye through the photograph.
5. People and moments - Look for everyday moments that tell a story.
Take photographs of anything that catches your eye. Then choose your favourite image and convert it to black and white. Now compare the colour and black and white versions.
Which one do you prefer and why?
That's the really useful part of this exercise.
You're not just learning how to make a photograph black and white. You're learning why some photographs work better without colour.
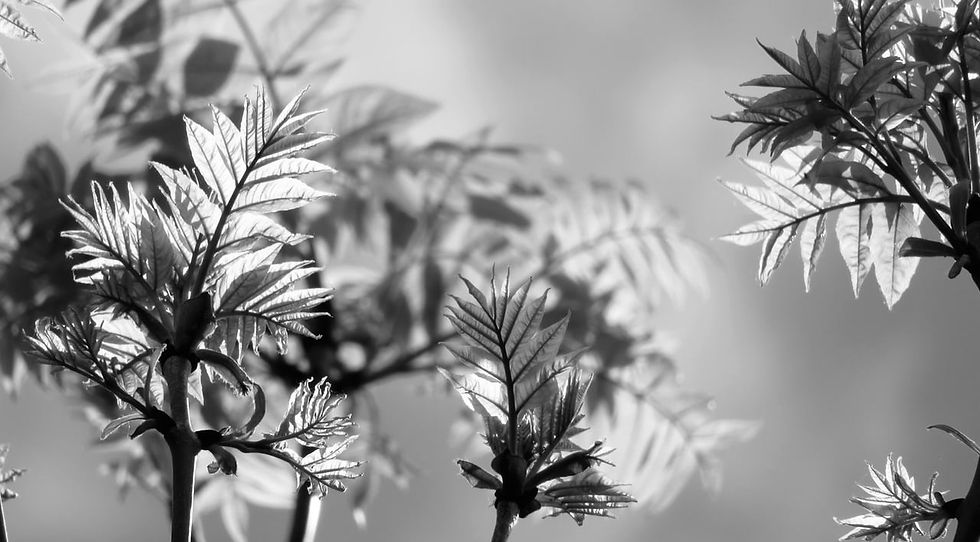
The great thing about black and white photography
Learning to see in black and white can actually improve your photography in general.
You'll start noticing light, shadows, shapes, textures, lines and composition more carefully.
And those skills don't disappear when you put the colour back in.
The next time you're walking around with your camera, try looking at the world a little differently.
Don't just ask yourself:
“What should I photograph?”
Instead, ask:
“What can I see here that might make an interesting photograph?”
Look for the light.
Look for the shadows.
Look for the patterns.
Look for the texture.
And, most importantly, start training yourself to see the photograph before you press the shutter.
That's when your photography really starts to change.

Sarah Lester is a professional photographer with more than 20 years of experience behind the camera. She’s been teaching beginners since 2008, helping people feel more confident using their cameras in a clear, simple and jargon-free way.
Her online courses have already helped thousands of students get to grips with their cameras and start taking photos they’re proud of.


Comments